Unity Input System Setup - A Practical Guide
Unity Input System: A Practical Implementation Guide
The “new” Unity Input System was officially released as a verified package in Unity 2020.1 (July 2020), offering a robust alternative to the legacy Input Manager. After several years of maturity, it’s now the recommended approach for handling input in modern Unity projects.
Why Use the New Input System?
The Unity Input System provides a more flexible, event-driven framework for handling player input across multiple platforms and devices. Here’s why it’s worth adopting:
- Action-Based System – Define input actions that trigger events, rather than polling for input states every frame
- Multiple Device Support – Seamlessly handle keyboard, controller, touchscreen inputs with a unified codebase
- Rebinding & Customization – Enable players to remap controls at runtime
- Visual Configuration – Set up inputs through an intuitive editor interface
- Context-Based Inputs – Organize inputs into logical groups like “Menu”, “Gameplay”, or “Vehicle”
For complete documentation, see the Unity Input System Manual.
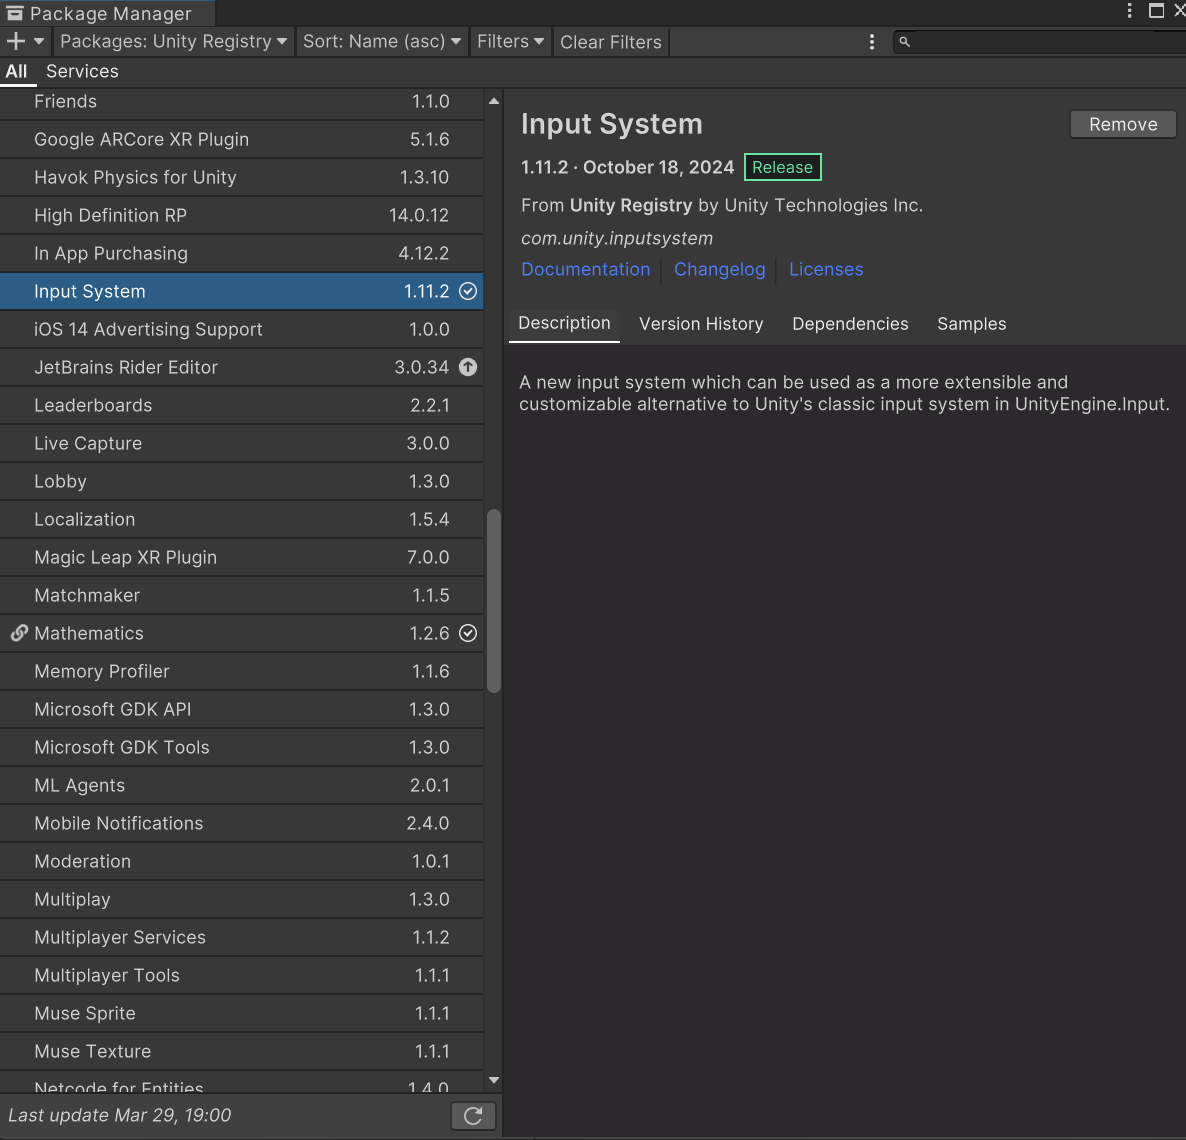
Install Input System via Unity package manager. This will also add the EventSystem to your scene.

My Implementation Approach
Below, I’ll share a pattern I’ve found effective for setting up the Input System in a modular, reusable way. While not necessarily “best practice,” this approach provides:
- Clean separation of input detection and gameplay responses
- Easy reuse across multiple game objects
- Simplified testing and debugging
Quick Start Option
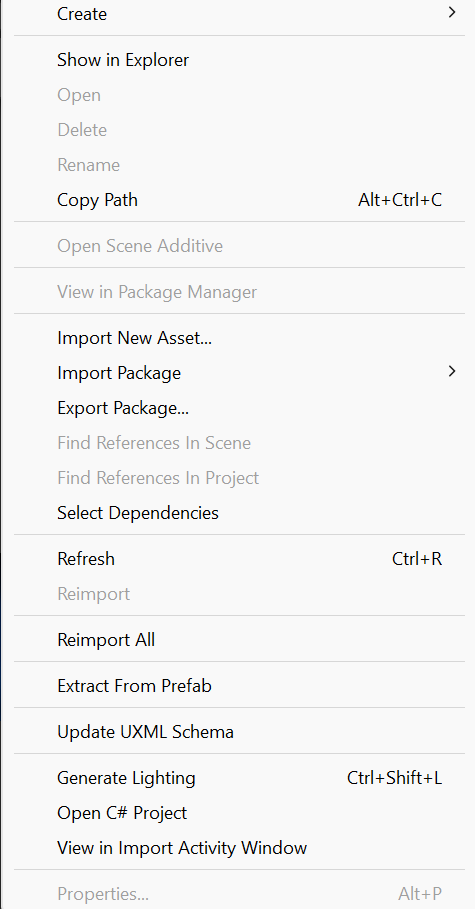
If you want to jump straight in, I’ve created a downloadable Unity package for 2D game controls containing this setup, ready to import into your project via the “import new assets” menu item:

Step-by-Step Implementation
Follow these steps to build this input system pattern from scratch:
1. Create Input Actions Asset
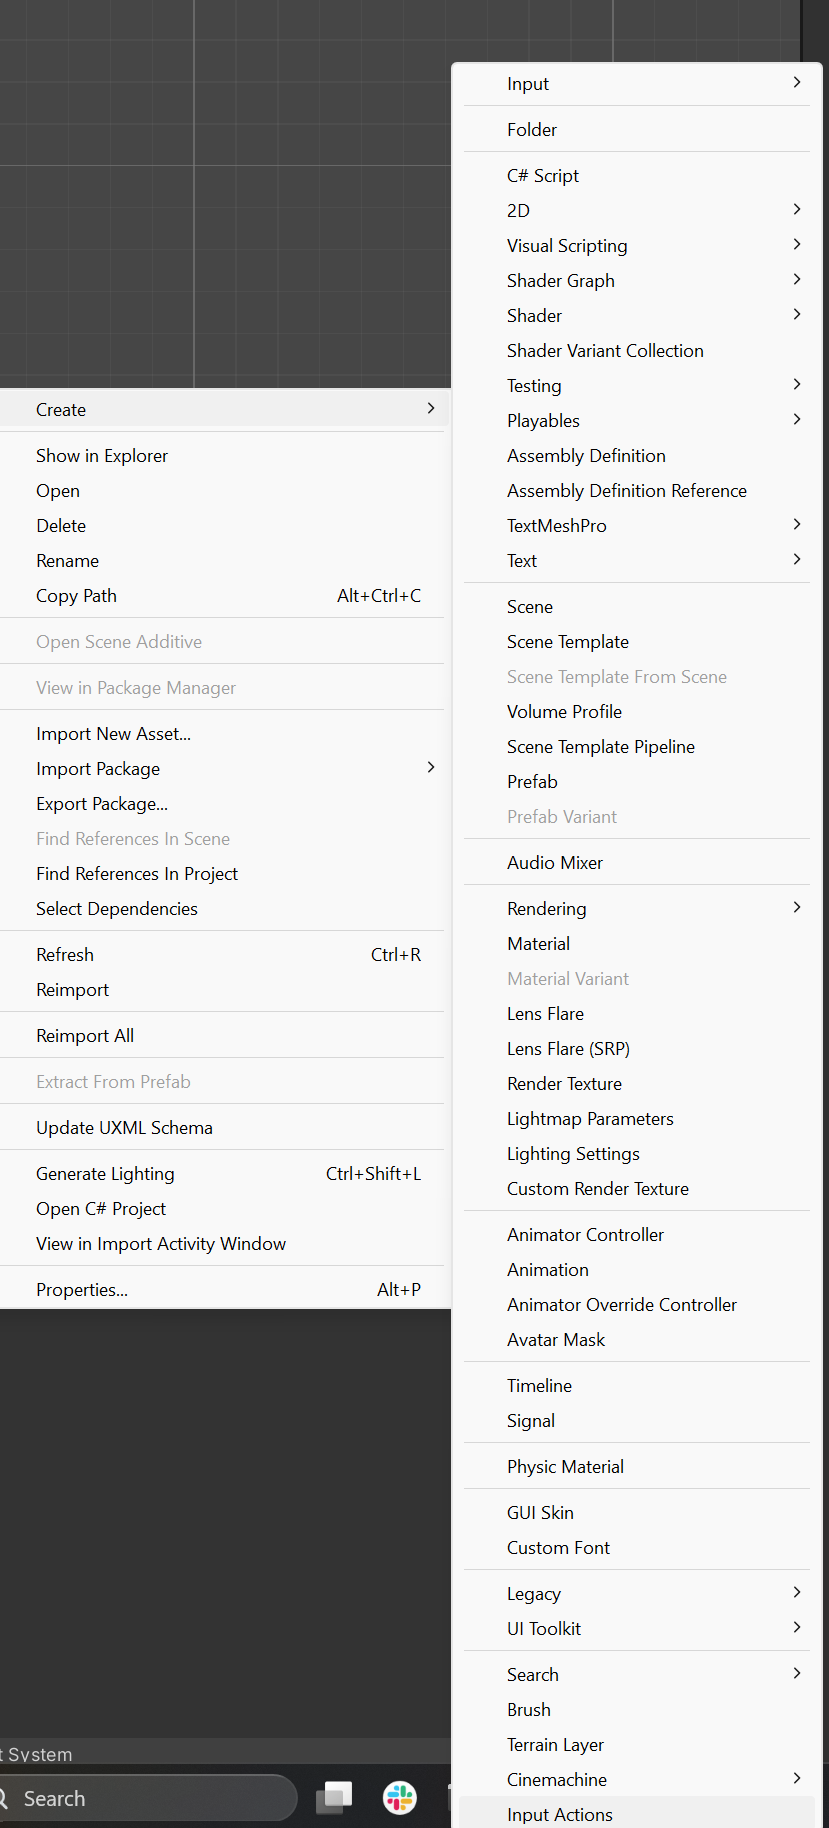
In your Project window, right-click and select Create → Input Actions:
 Right at the bottom of the menu!!
2. Configure C# Generation
Select your new Input Actions asset and in the Inspector:
- Check “Generate C# Class”
- Set a location for the generated script
- Click “Apply”

This will automatically generate code each time you modify and save your input actions. The generated class name will be important for later steps.
3. Set Up Action Maps
Open your Input Actions asset and:
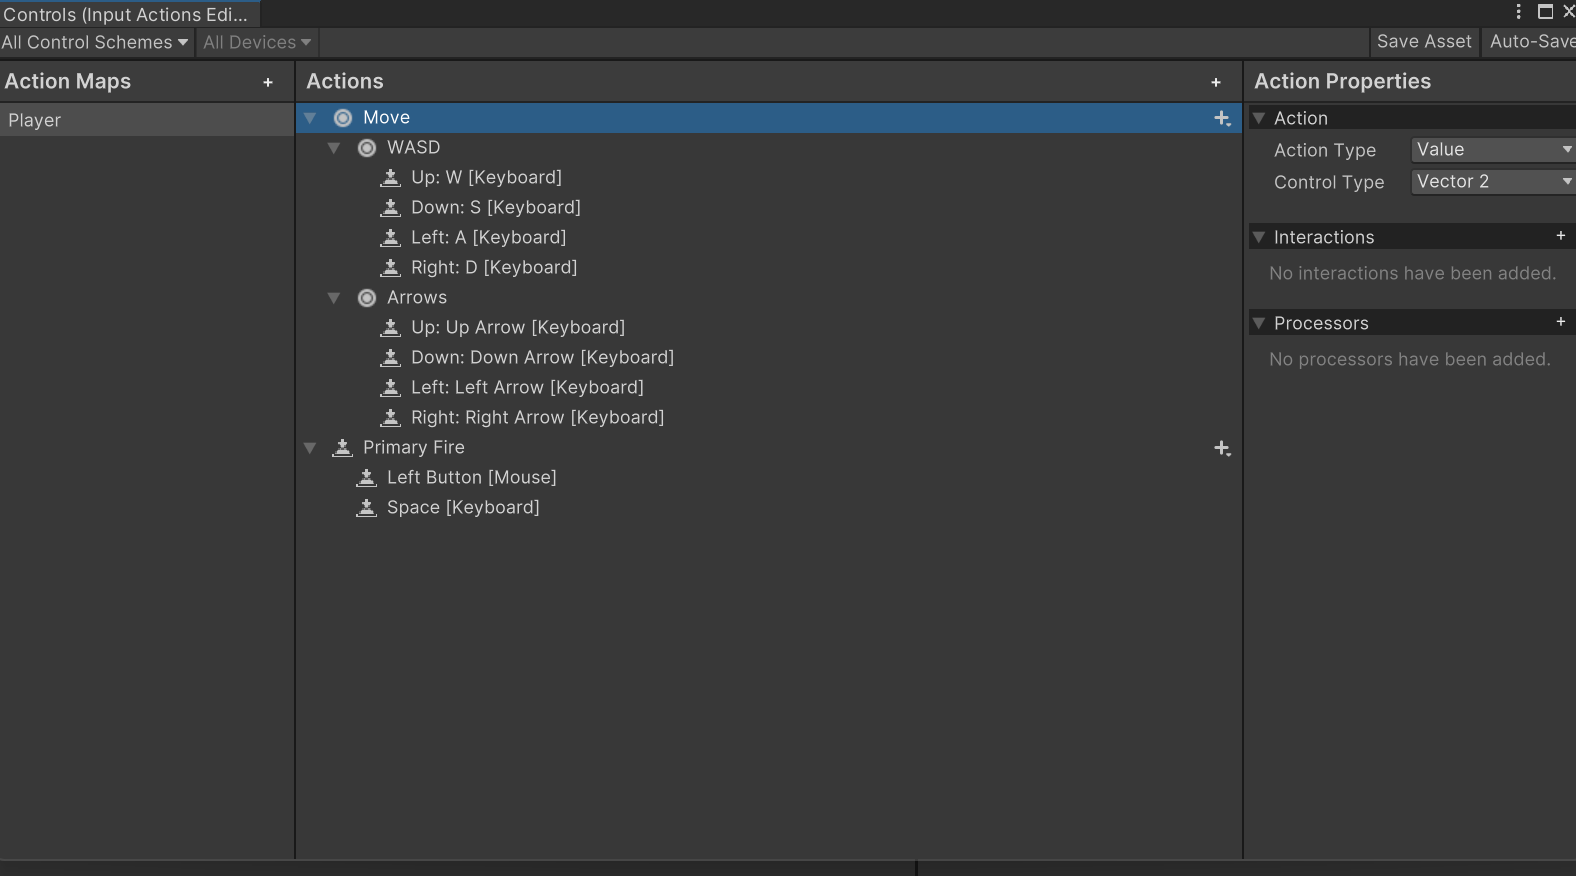
- Create an action map named “Player” (critical for this tutorial)
- Add movement inputs (configured for WASD/Arrow keys)
- Add action inputs (like “PrimaryFire” bound to LMB and Space)

4. Create an Input Reader Scriptable Object
This is the key component that decouples input detection from game behaviors:
using System;
using UnityEngine;
using UnityEngine.InputSystem;
using static Controls;

[CreateAssetMenu(fileName = "New Input", menuName = "Input/InputReader")]
public class InputReader : ScriptableObject, IPlayerActions
{
    private Controls controls;

    public event Action<bool> PrimaryFireEvent;
    public event Action<Vector2> MoveEvent;
    void OnEnable()
    {
        if(controls == null)
        {
            controls = new Controls();
            controls.Player.SetCallbacks(this);
        }

        controls.Player.Enable();
    }

    public void OnMove(InputAction.CallbackContext context)
    {
        MoveEvent?.Invoke(context.ReadValue<Vector2>());
    }

    public void OnPrimaryFire(InputAction.CallbackContext context)
    {
        if(context.performed)
        {
            PrimaryFireEvent?.Invoke(true);
        }
        else if (context.canceled)
        {
            PrimaryFireEvent?.Invoke(false);
        }
    }
}
What makes this approach powerful:
- The ScriptableObject can be created as an asset in your project
- Using events allows any number of game objects to respond to input
- Implementing the generated interface (
IPlayerActions) ensures your code stays in sync with your Input Actions asset (The interface is named after the Action map created earlier).
5. Implement a Component to Use the Input Reader
Create a MonoBehaviour that can receive input events:
using UnityEngine;

public class PlayerInput : MonoBehaviour
{
    [SerializeField] InputReader inputReader;

    void Start()
    {
        inputReader.PrimaryFireEvent += OnPrimaryFire;
        inputReader.MoveEvent += OnMove;
    }

    private void OnPrimaryFire(bool isFiring)
    {
        if (isFiring)
        {
            // Mouse button is down
            // do firing
            Debug.Log($"Engaging primary fire captain");
        }
        else
        {
            //Mouse button is released
            Debug.Log("Disengaging primary fire captain");
        }
    }

    private void OnMove(Vector2 movement)
    {
        Debug.Log($"Setting course for: {movement.x},{movement.y} captain");

        // You would actually implement movement logic here:
        // transform.Translate(movement * speed * Time.deltaTime);
    }
}
After attaching this script to a game object with an assigned InputReader asset, you’ll receive input events that you can use to drive game behaviors.
Practical Usage Tips
- Create Input Reader instances for different contexts: You might have separate readers for UI, player movement, or vehicles
- Use the Unity Event system for wiring up inputs in the editor if you prefer a more visual approach
- Enable/disable input maps when transitioning between gameplay states (like pausing or entering a menu)
- Consider adding a Debug mode to your InputReader that logs all received inputs
Extending This Pattern
This foundation can be extended to handle more complex input needs:
- Add support for multiple control schemes (keyboard/mouse, gamepad, touch)
- Implement input rebinding through a settings menu
- Create specialized readers for different gameplay systems
Conclusion
By separating input detection from game behavior using this ScriptableObject-based approach, you create a more modular, testable input system. The ability to create and assign different input readers makes your code more flexible and easier to maintain as your project grows.
Remember to export your setup as a Unity package once you’ve customized it to your needs, so you can quickly reuse it in future projects!